


Hi everyone and welcome to this series of tutorials where I will do an overview of Strapi and what it can do.
I would have liked to start this series from the beginning but following a post on Linkedin where I showed how I was able to customize my admin Dashboard, I got some feedback that wanted me to show them how I did it.
Let's cut to the chase.
DISCLAIMER: It is important to rebuild your project so that the changes take effect.
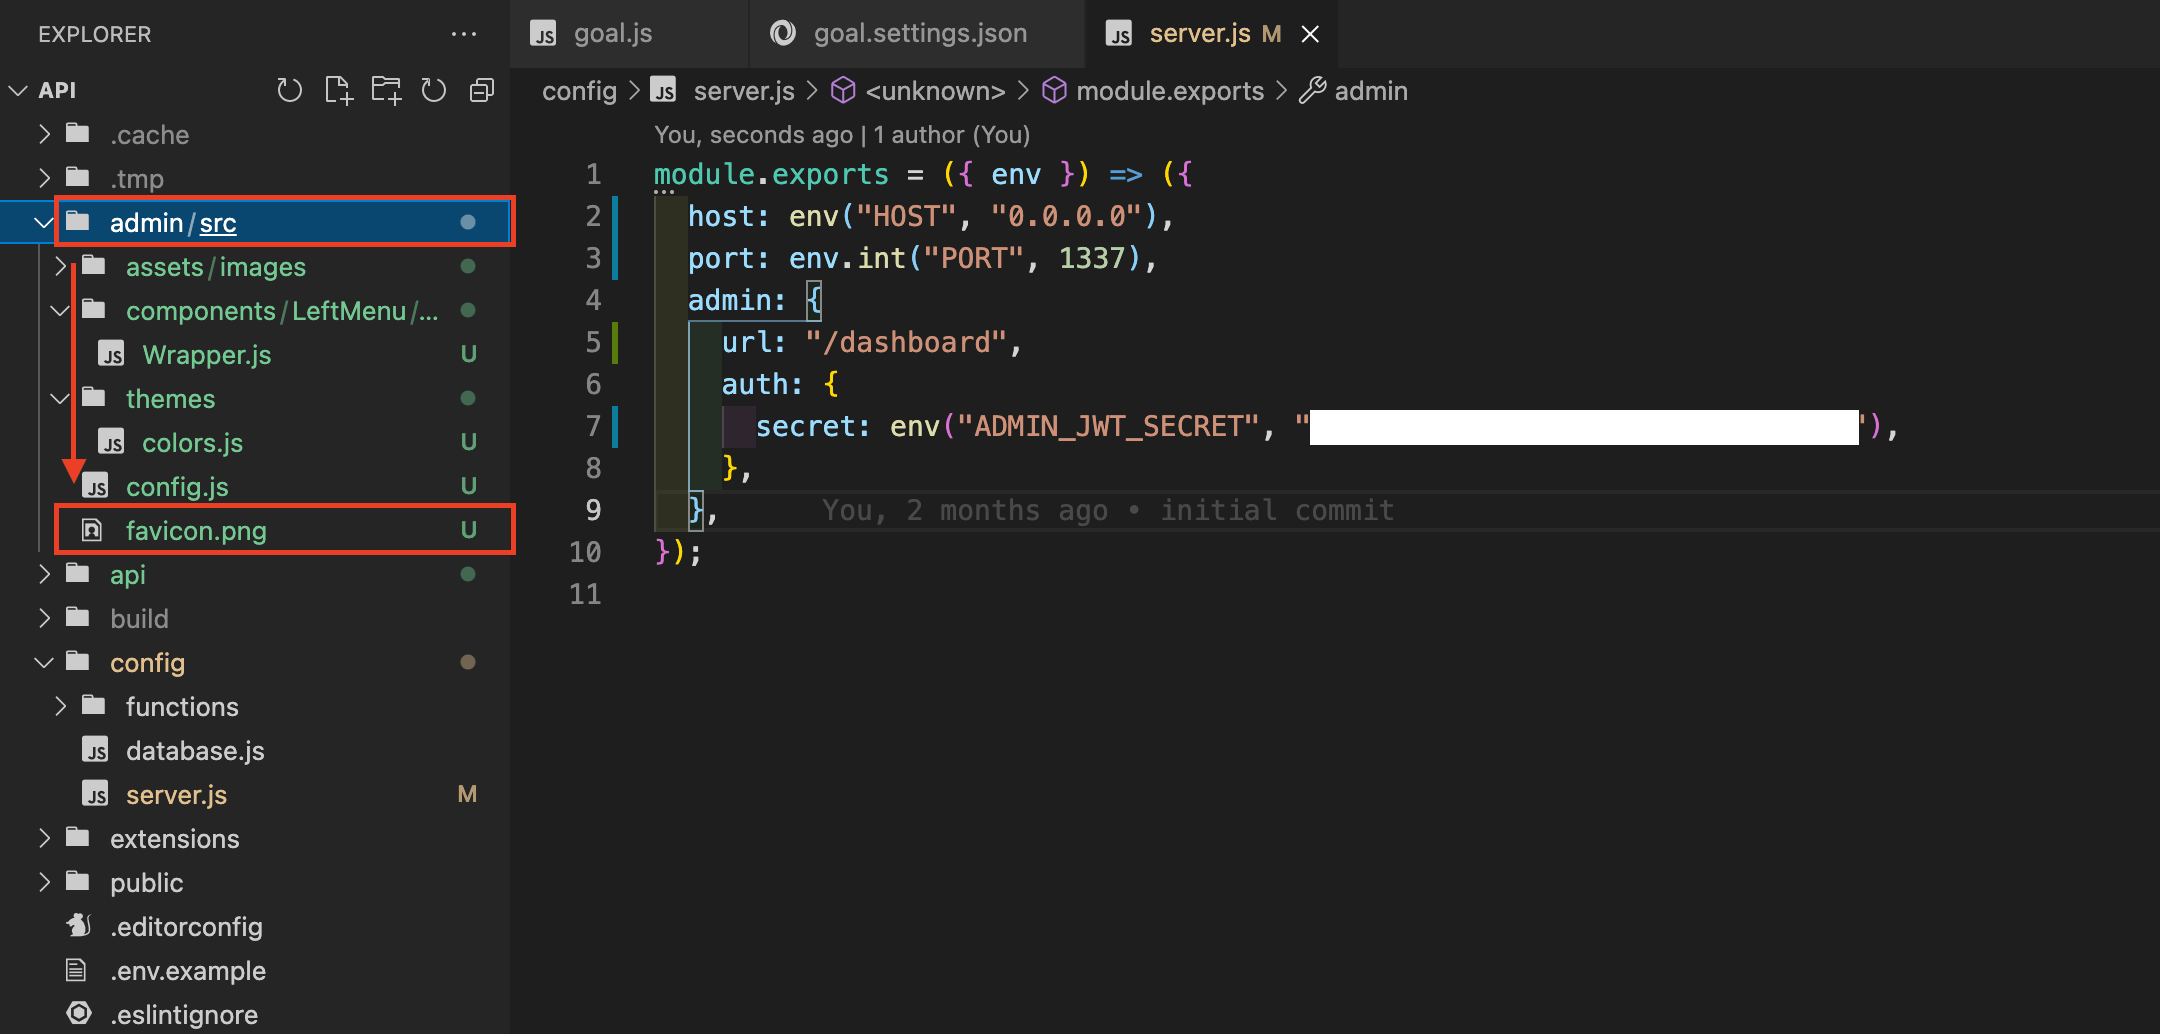
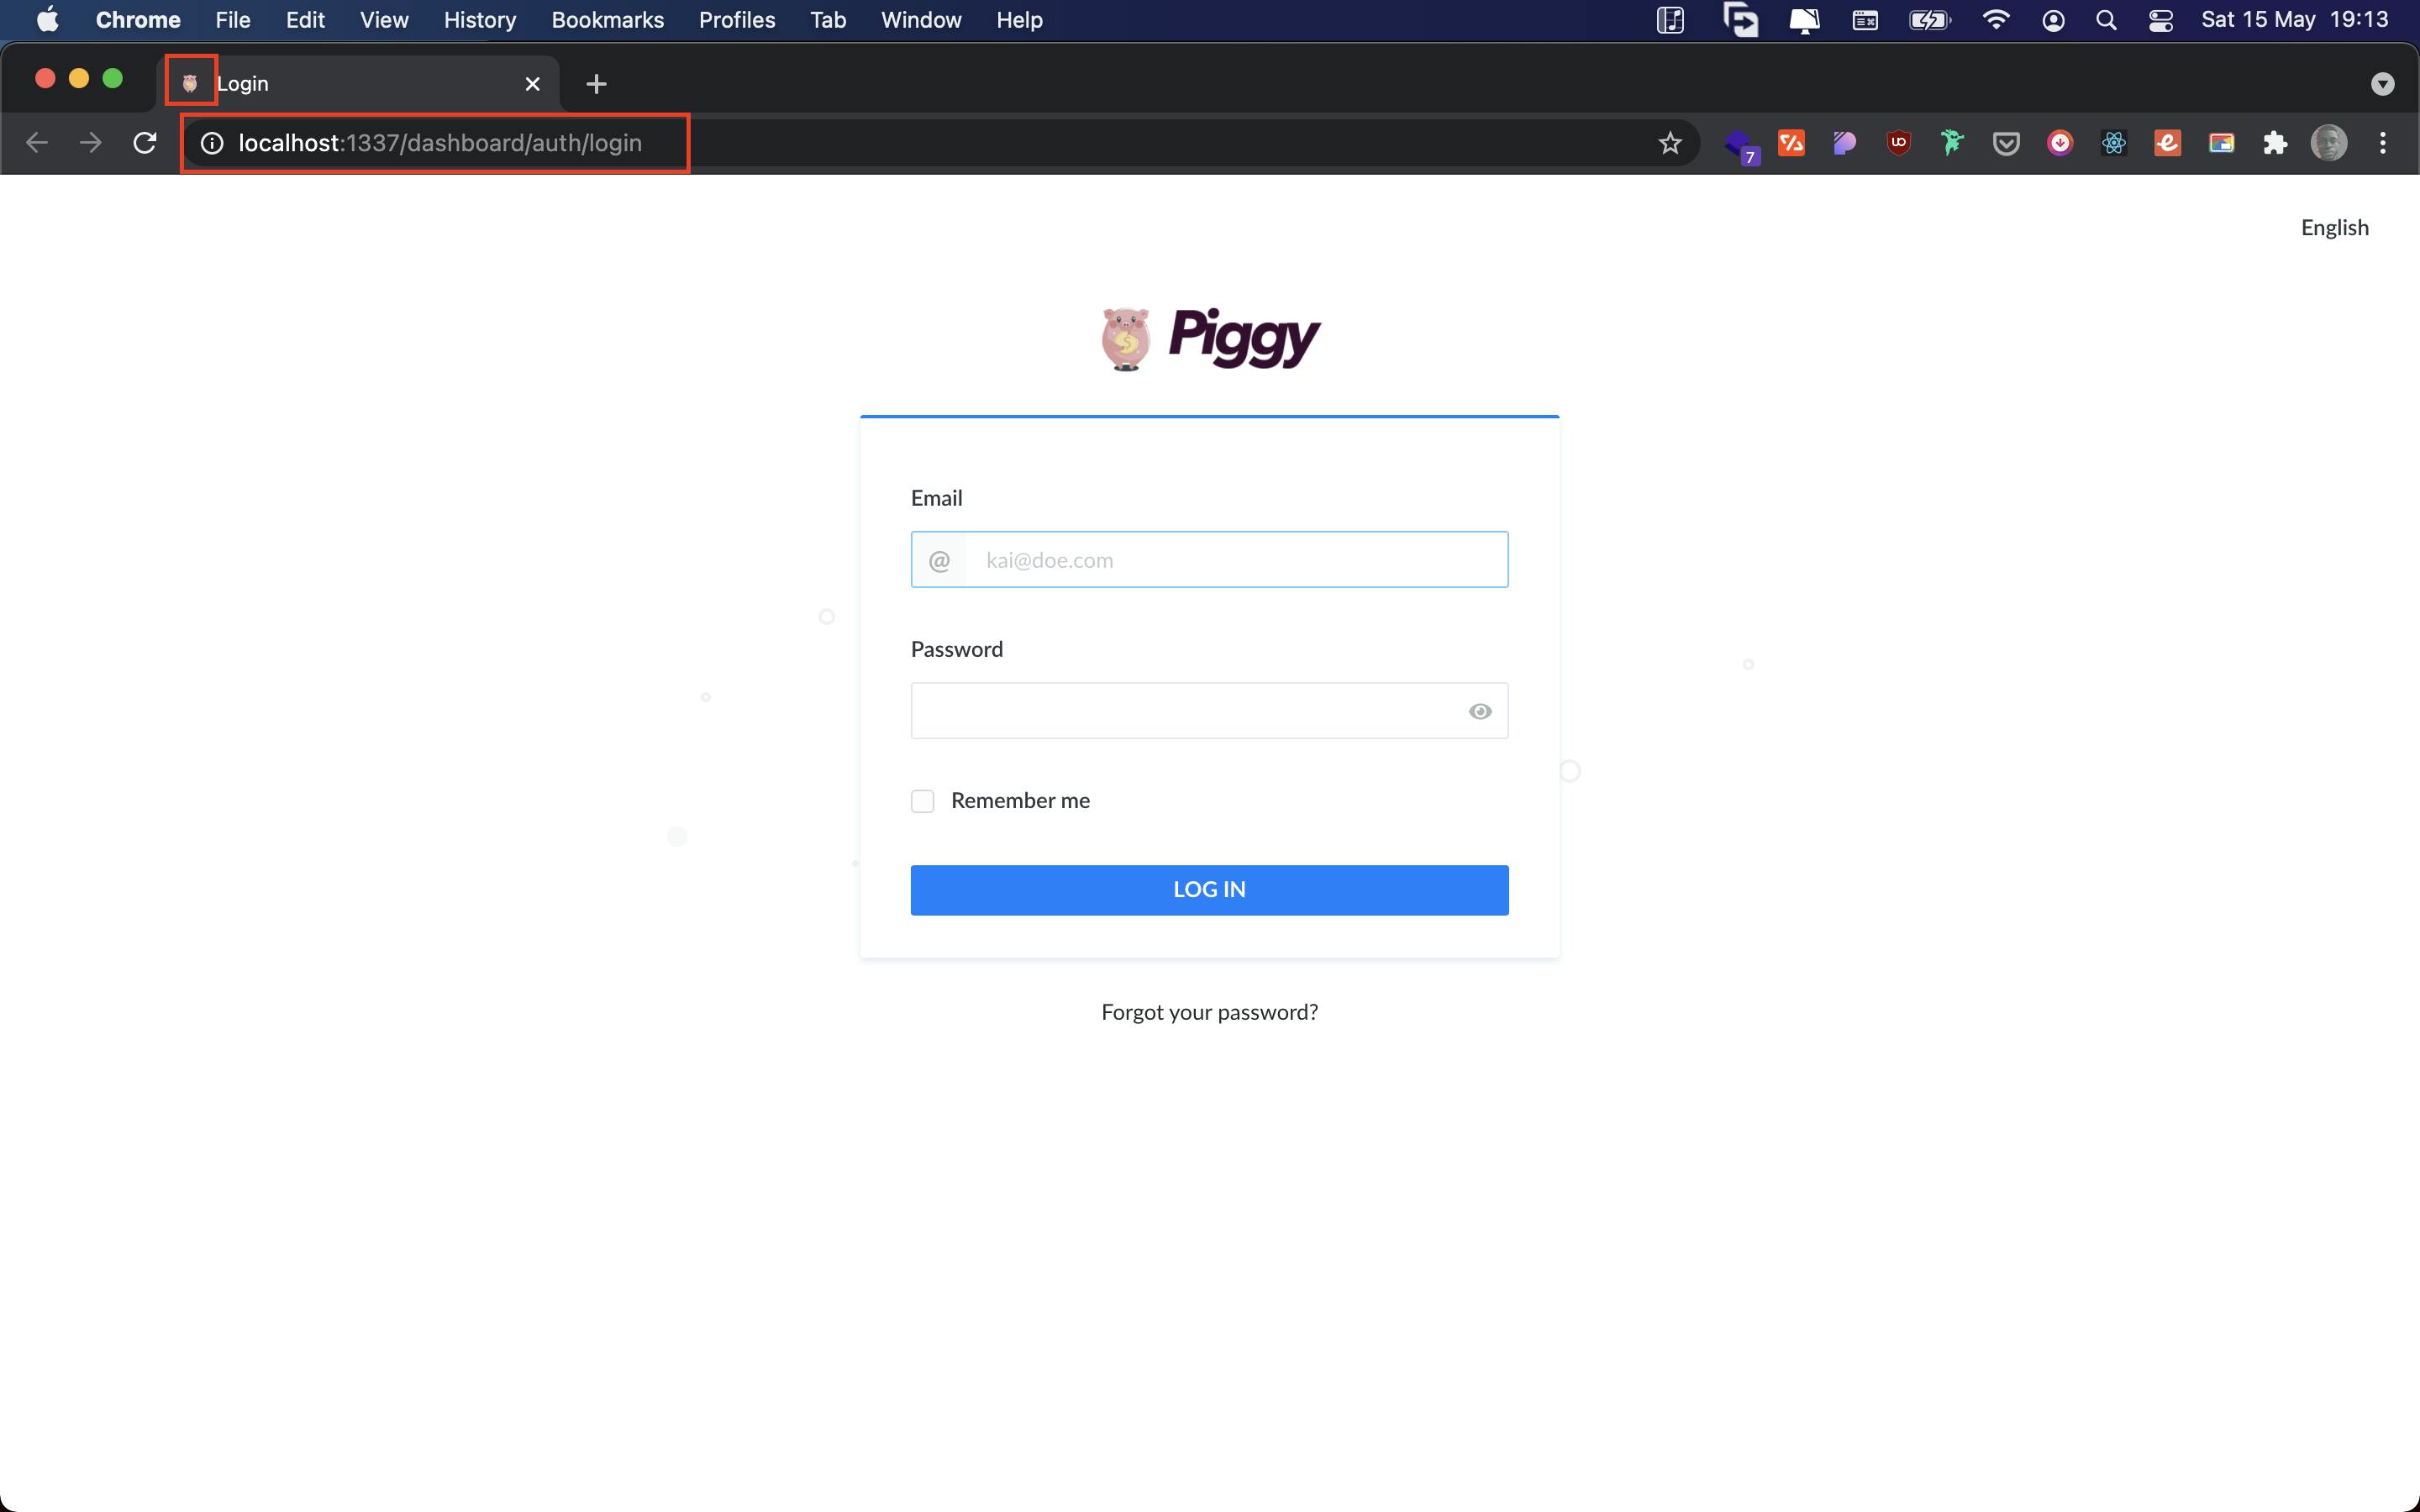
1. the URL
The first interesting thing to do is to change the url that leads to your administration. To do this, open the file server.js in the folder config and in the admin property, add the key url and give it the name you want.

Don't forget to rebuild your project for the changes to take effect:
yarn build, npm run build or strapi build.
2. The favicon
On Strapi, the administration is a package you can check by searching for strapi-admin in your node_modules folder fortunately for us just like the API there is a way to extend it.
First, create a folder 📁 admin at the root of your project. As you'll see in the documentation, to modify anything related to the Dashboard style it's in the 📁 src folder.
As you can see above, to change the favicon, you just need to import a .png image and rename it to favicon and that's it. There is really nothing more to do except rebuild your application so that the changes take effect.

Congrats 🎉
In the next chapter we'll see how to change the logo that appears at login or account creation but also the one that appears on the Dashboard.
If you enjoyed this content don't forget to like and follow me on Twitter and even tell me if there are topics you would like me to cover.